Do your Bike Check!
A bike check must be carried out before every ride. A few simple steps can save you a few mishaps while driving. It is advisable to check the bike with the help of two mnemonic bridges so that you don’t forget anything.
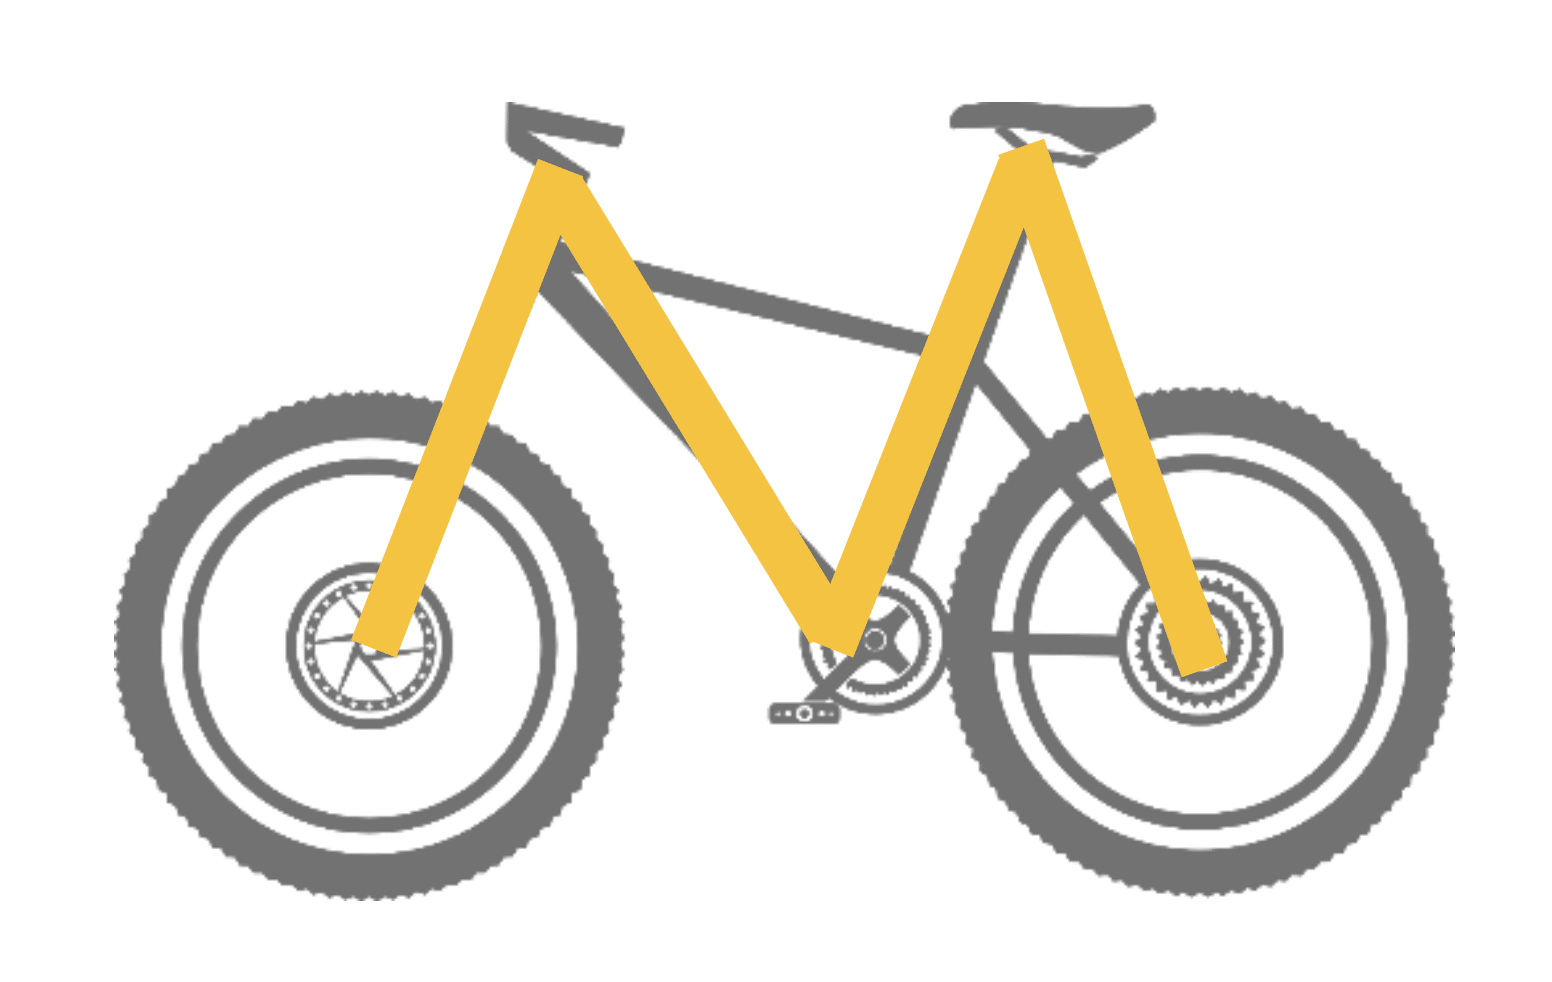
Using an imaginary M, we check all components of the bike, from the front wheel, handlebars, bottom bracket and saddle to the rear wheel, for strength, function and wear and tear. The check can be done in under a minute with a little routine.
- Bike check using an imaginary M from the front wheel, handlebars, bottom bracket, saddle to the rear wheel
- Bike Check based on the 3 F – Principle Strength, Function F(V)wear
1st front wheel
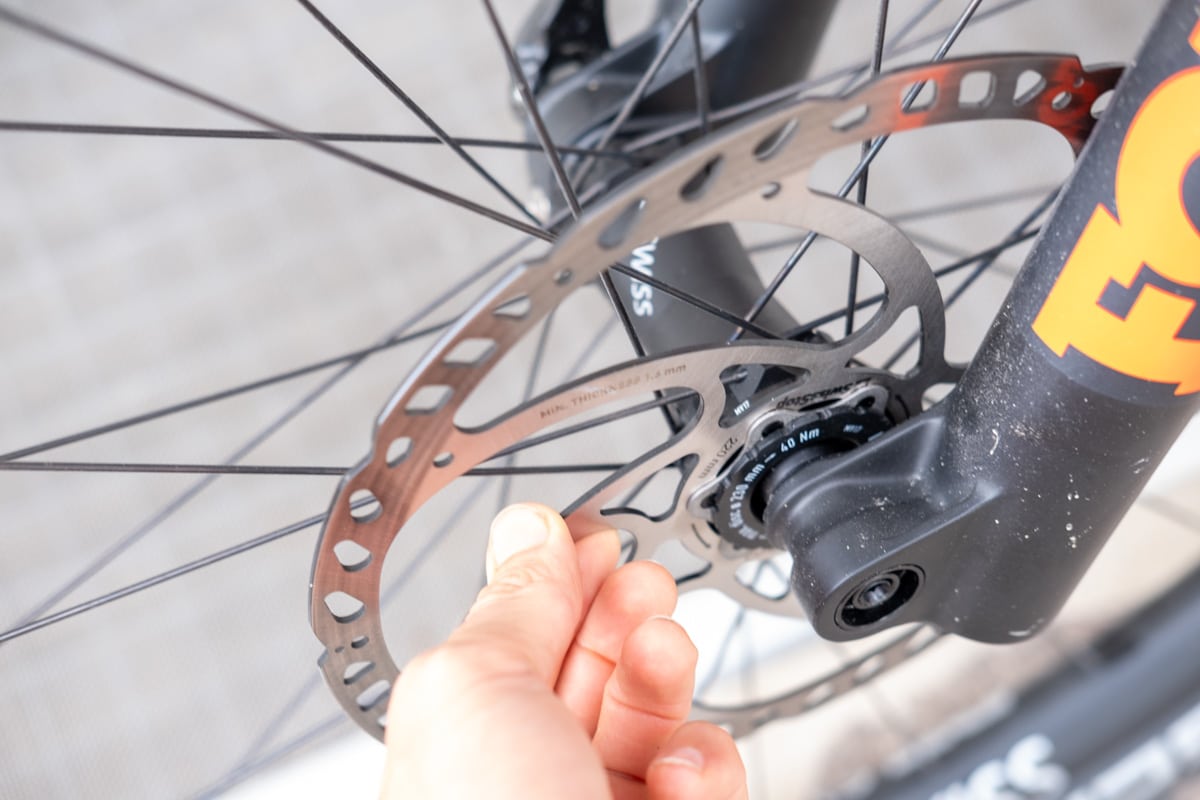
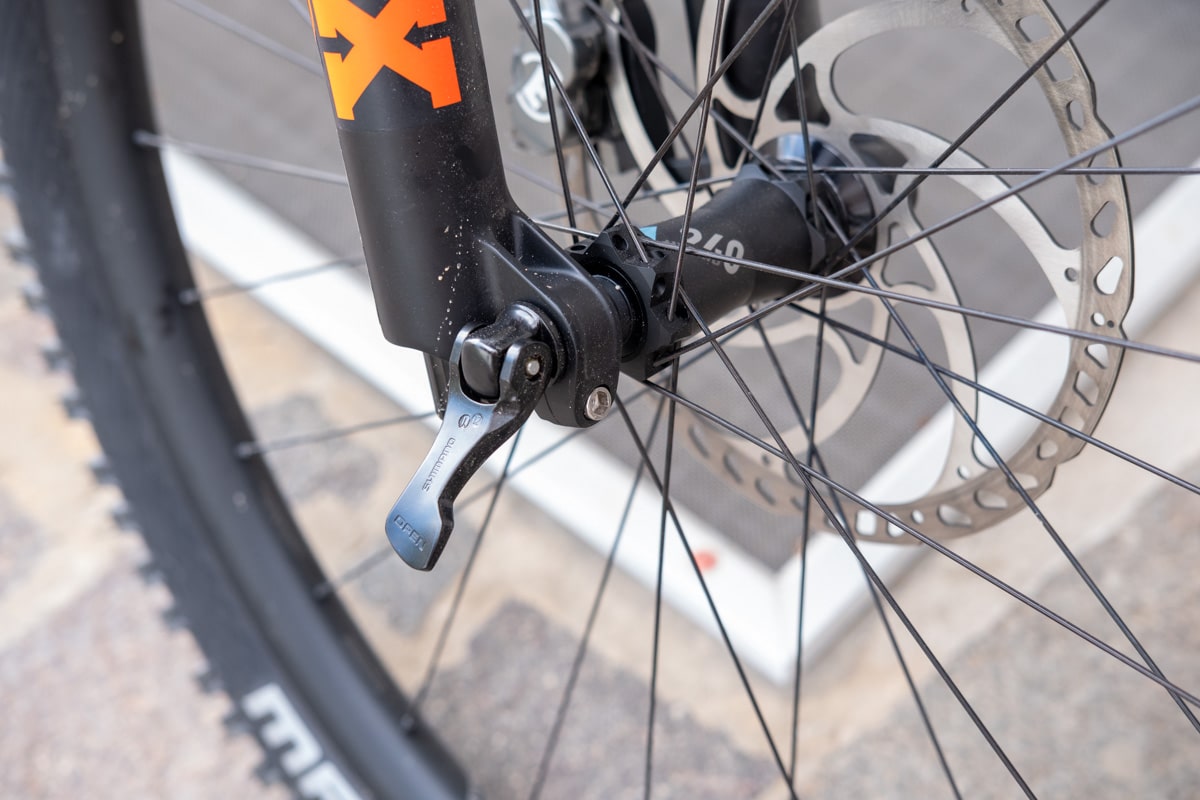
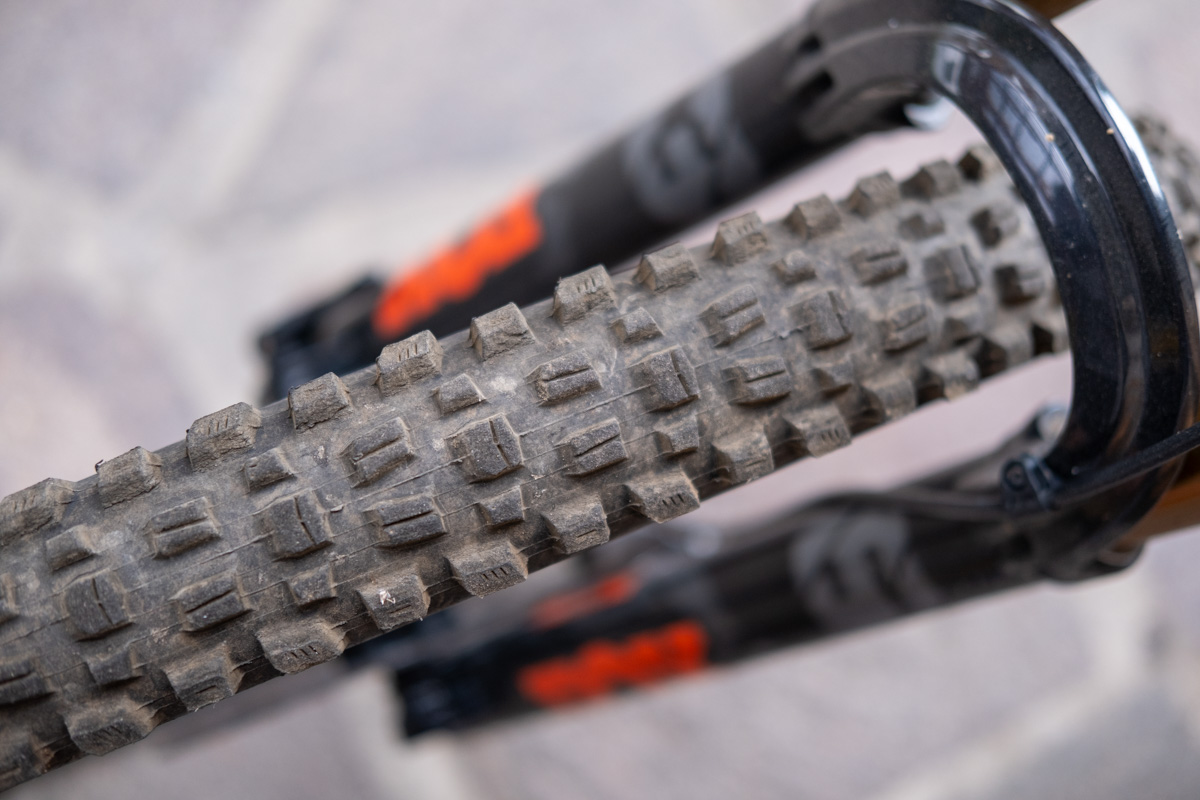
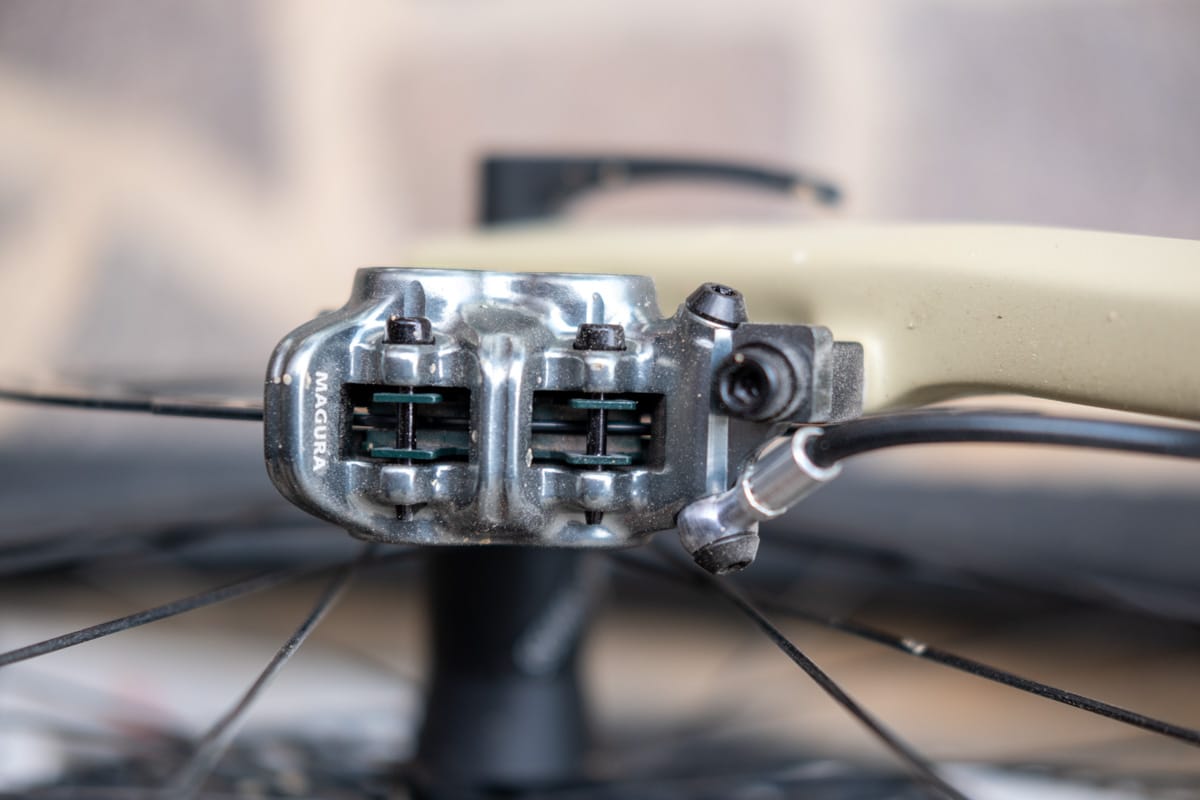
Let’s start with the front wheel. In addition to air pressure, thru axle or quick release, front wheel hub, the spokes should also be checked for strength. You can quickly skim and pluck the spokes like a harp. You will immediately notice any looseness. If one is loose, it can be tightened provisionally for the time being, but the wheel should always be professionally centered. The thru axle and quick release are also important parts that should always be tight to avoid suddenly losing a wheel. In the event of a bumpy tire while riding, it is important to stop and check it again. The thru axle or quick release can become loose, especially off-road and on uneven surfaces. The brake calliper and brake disk should also be checked for firmness, whereby you should not touch the surfaces of the brake disk directly with your fingers, as the braking force is no longer guaranteed due to a possible film of grease (residue from sun cream or hand cream). In addition to the strength, the next step is to check the function. If the front wheel is lifted, it can be turned and the wheel’s rotation checked. In this way, you can determine whether the brakes are on a figure of eight or if they are dragging. The front wheel brake can also be tested directly in this case. The front brake is closed and the wheel is pushed forward. The front wheel should lock and the rear wheel should rise. If the bike rolls, the brake must be checked. This brings us to the third “F” and we take a closer look at the bike under the motto “F(V)wear”. You can take a direct look at the brake pads from above. If they are worn and no evidence is visible, they must be replaced immediately. If this condition is ignored, the brake disc will also be affected and a dangerous loss of braking power is possible. Another classic wear part is the tire casing. Pay particular attention to the side lugs. These are needed for more grip when cornering. A worn tire casing is also more susceptible to punctures. If you have sealant in your tire casing, it’s a good tip to keep topping it up, as this reduces over time.
2. suspension fork & handlebars
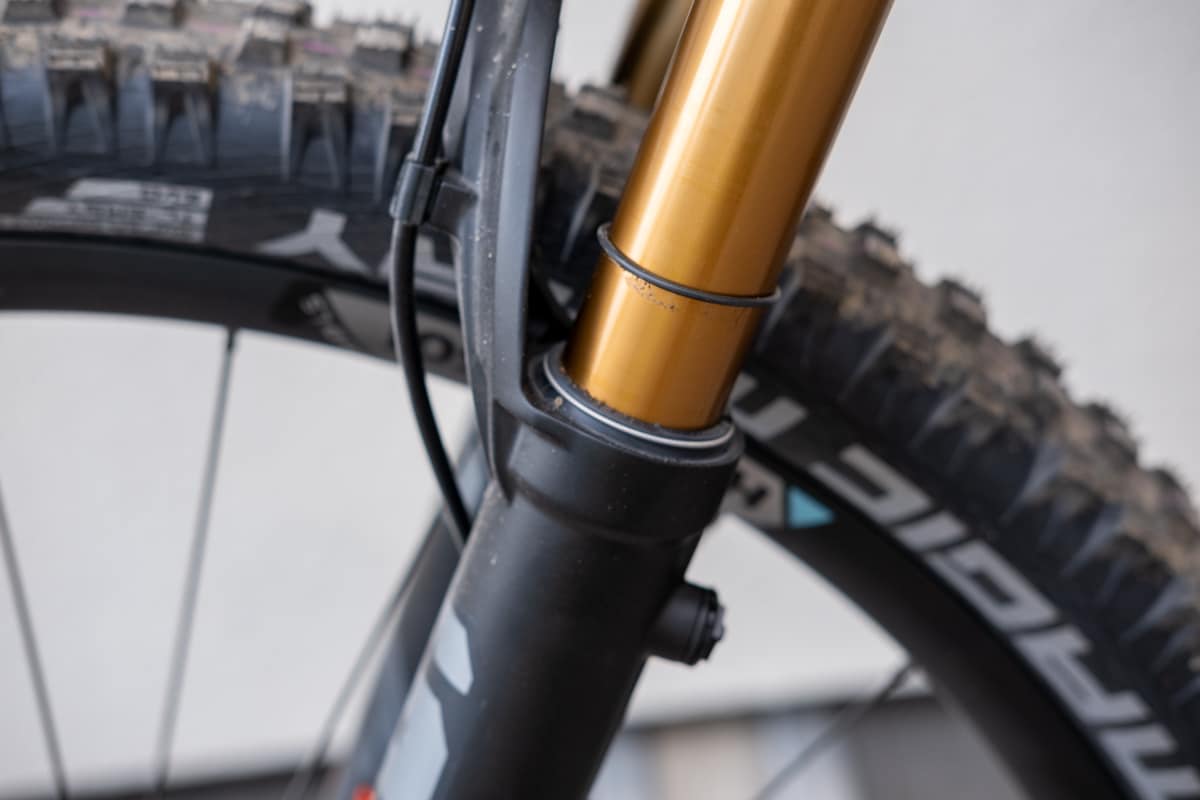
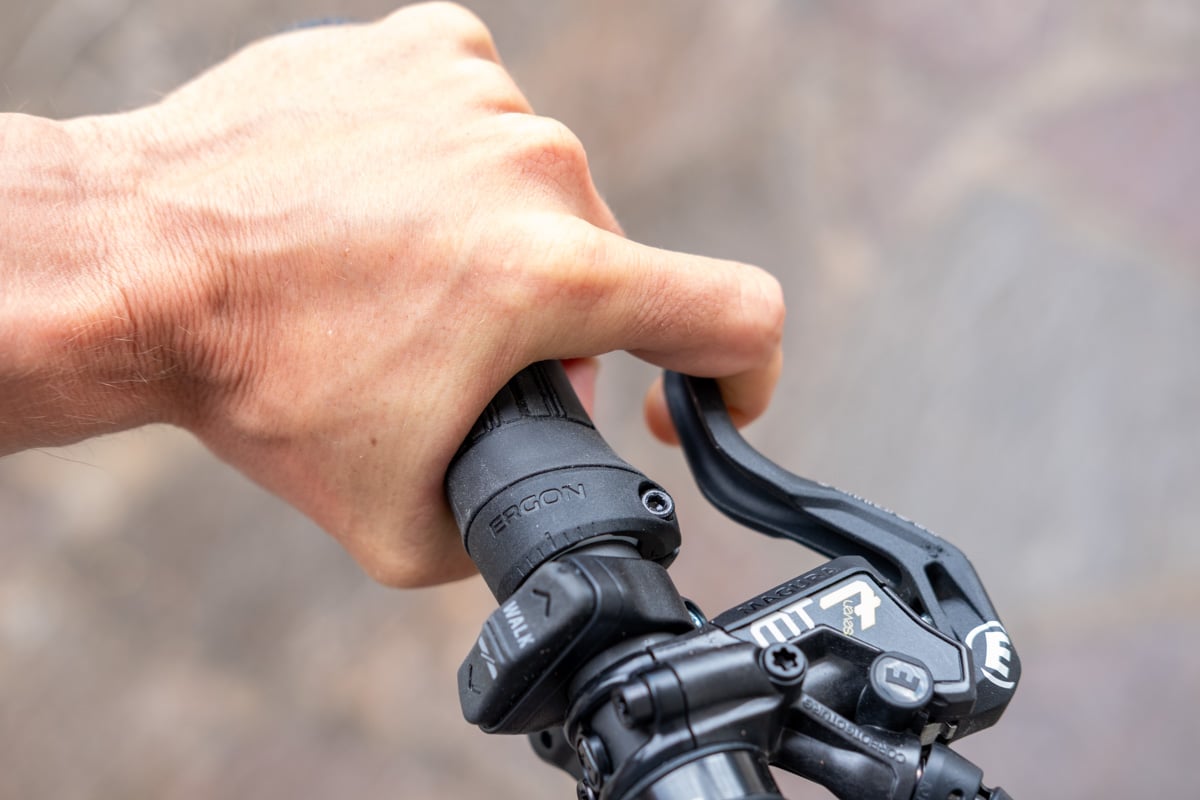
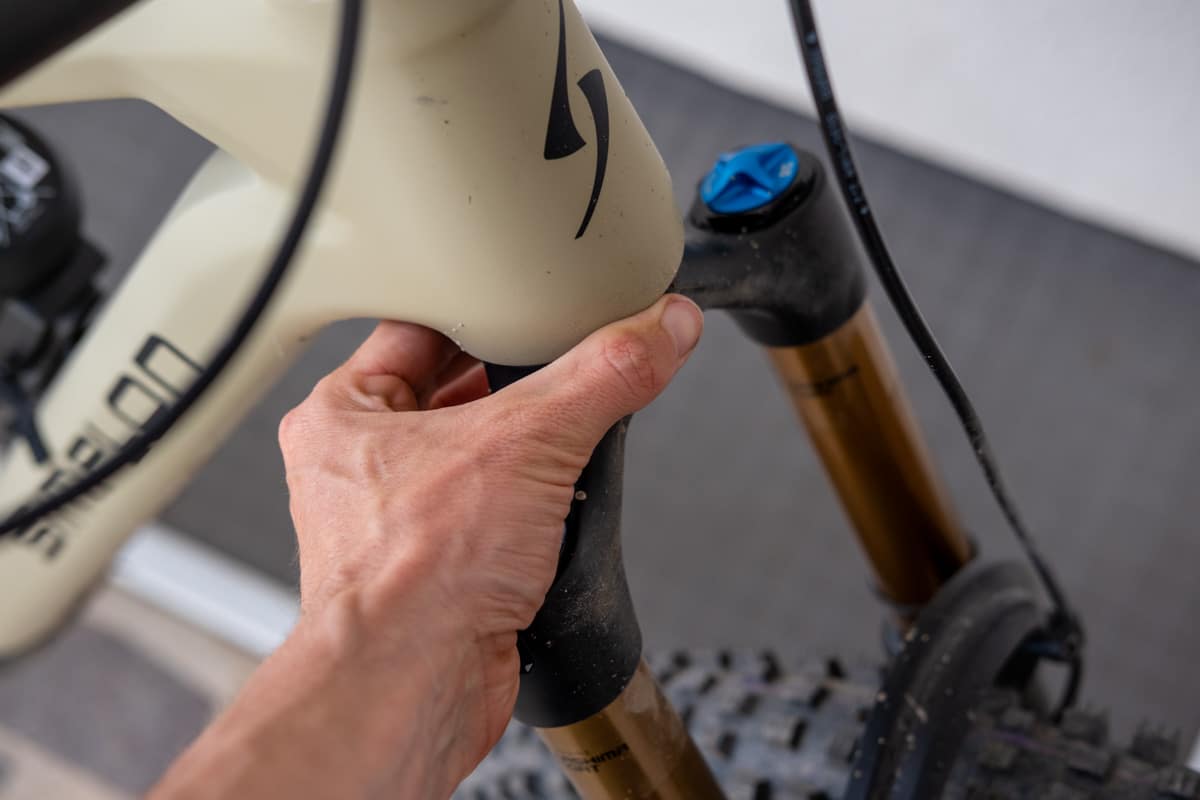
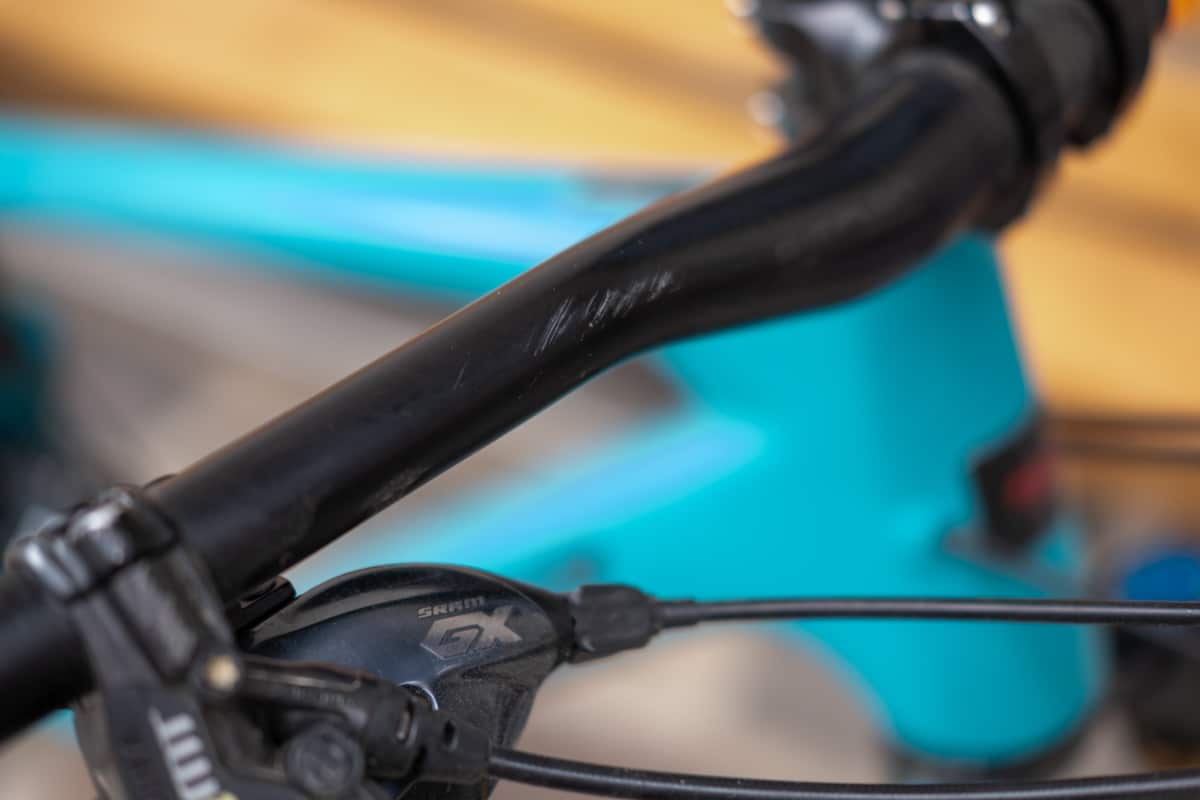
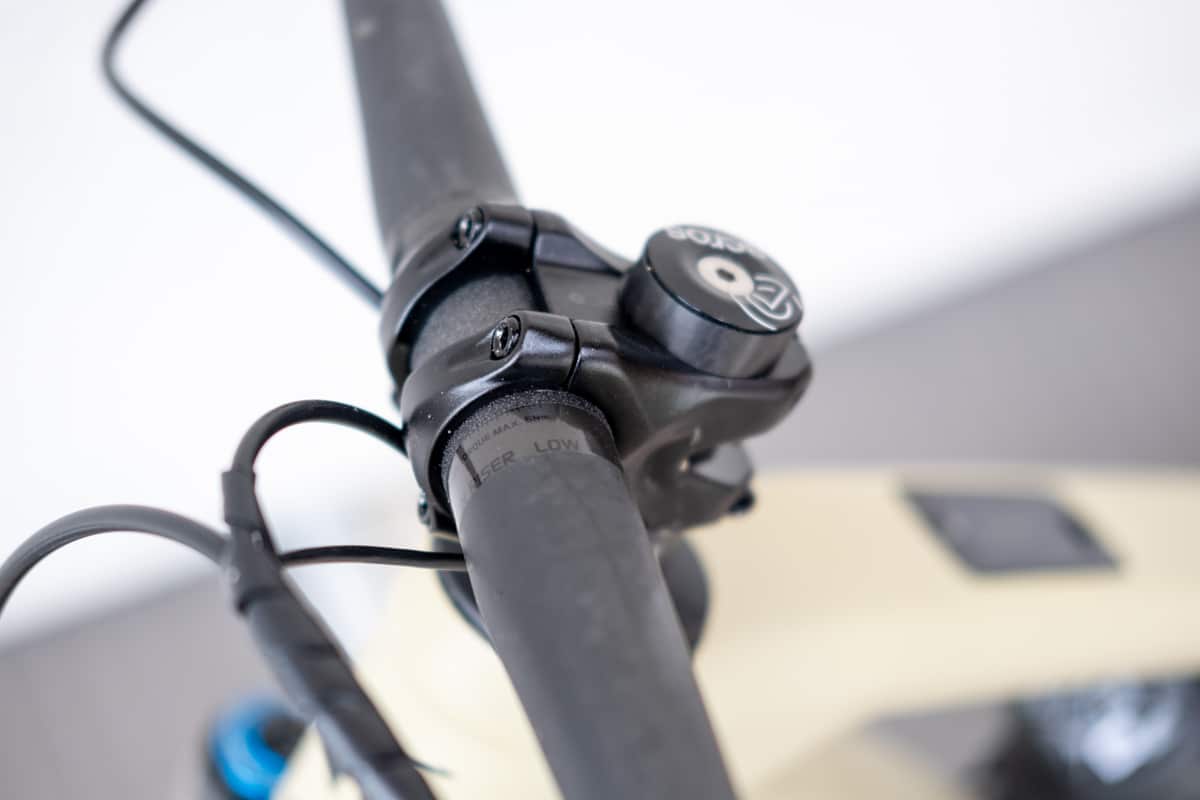
The suspension fork and handlebars are now also checked using the 3F principle. The first step is to check the strength of the fork, grips, brakes and gears. The headset is located in the center of the handlebars. You should also test its strength by pulling the front brake with one hand and holding it with the other. The wheel is now pushed forward with a jerk. If the headset is loose, you would feel it in this case. All screws on the cockpit must be properly tightened, otherwise the handlebars will twist, which can quickly lead to a fall. To understand the functions of the suspension fork, press your weight on the fork a few times when stationary. If you have the feeling that the fork is too soft or too hard, you can check this outside the bike check with a SAG measurement. This requires a partner or a wall. While your partner is holding you, you can bend the fork a few times on the bike. Now release the brakes. Then carefully lower the rubber band of the suspension fork all the way down and descend slowly and as lightly as possible to the rear. The rubber band should now be at approx. 20 %. If this does not fit, or the fork rebounds too quickly or too slowly, take a look at our suspension setup video. Of course, everyone has their own personal preferences and individualized settings, but you can roughly check the suspension travel this way. The rebound can also be tested. When stationary, you push the handlebars quickly and hard towards the ground. The front wheel should not jump when letting go and rebounding. Here, too, it is essential to test and customize the suspension setup off-road. To check the function of the handlebars, turn them a few times to the left and right. The headset should not block the steering angle. If you did not check the brakes in the first step of the bike check, you can do this now. With regard to wear on the handlebars, you should look for obvious damage and, above all, check the brake levers to make sure that neither of them is broken. All other levers can also be checked to see if they are displaced or bent. They may need to be repositioned or screwed on again. Be careful not to screw the brakes on too tightly. It should still be possible to move them in the event of a fall. This prevents the levers from breaking off.
3. bottom bracket & damper
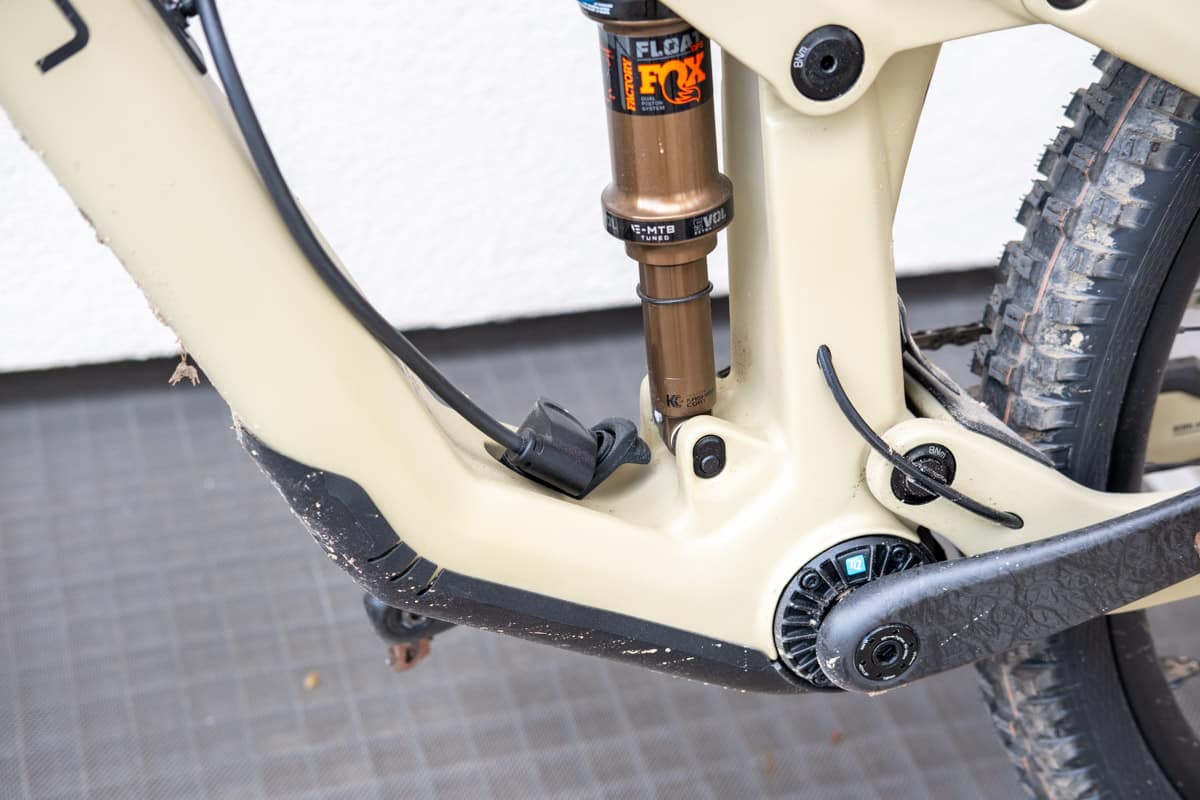
The bottom bracket or crank should also be checked for strength. You can also check the pedals. All clipless pedal riders should also take a look at their cleats on the shoe and check whether they are still firmly screwed on. The F(V) wear of these can also be checked. Worn cleats make it easier to fall off the pedals unexpectedly. This can be particularly dangerous when jumping or moving the rear wheel. The function of the crank and pedals must be checked while riding. The damper must also be controlled using the 3F principle. Strength, function and F(V) wear. The function can be tested in the same way as with the fork by means of targeted compression. The exact setting, however, is again not a point of the bike check. Nevertheless, as with the suspension fork, the SAG can also be measured here. Here, it is sufficient to achieve approx. 30 % of the suspension travel. Again, this is only a rough check. Every rider has their own individual setup, adapted to their riding style, terrain and personal parameters such as height and weight. When checking the damper, you should always check whether it has lost air. If the SAG is clearly too large, the bottom bracket comes very low when riding and you run the risk of unexpectedly getting stuck on the ground with the pedals.
4. frame and saddle
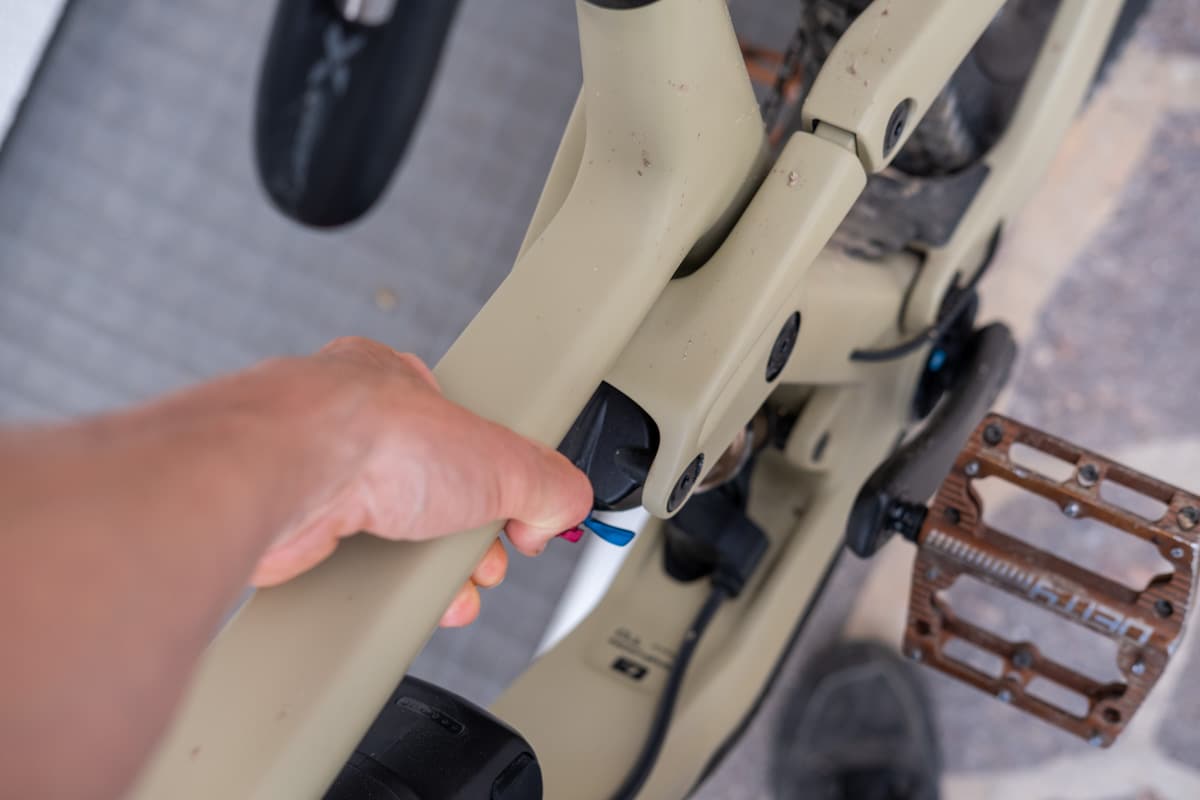
Carbon frames in particular should be checked for visible damage at regular intervals. Early detection of damage to the fibers can prevent unnecessary falls. It is also important to determine whether any bolts on the frame or rear triangle are loose. You can do this either by touching and turning all the screws or by trying to lift the bike sensitively by the top tube to feel for any play. Then you just have to search for where it comes from.
In addition to the strength of the saddle, the function of the hydraulic seat post must also be checked. This can be done simply by giving the saddle out once and pushing it back in again. Visually, you can quickly determine whether the saddle is damaged or worn.
5. rear wheel
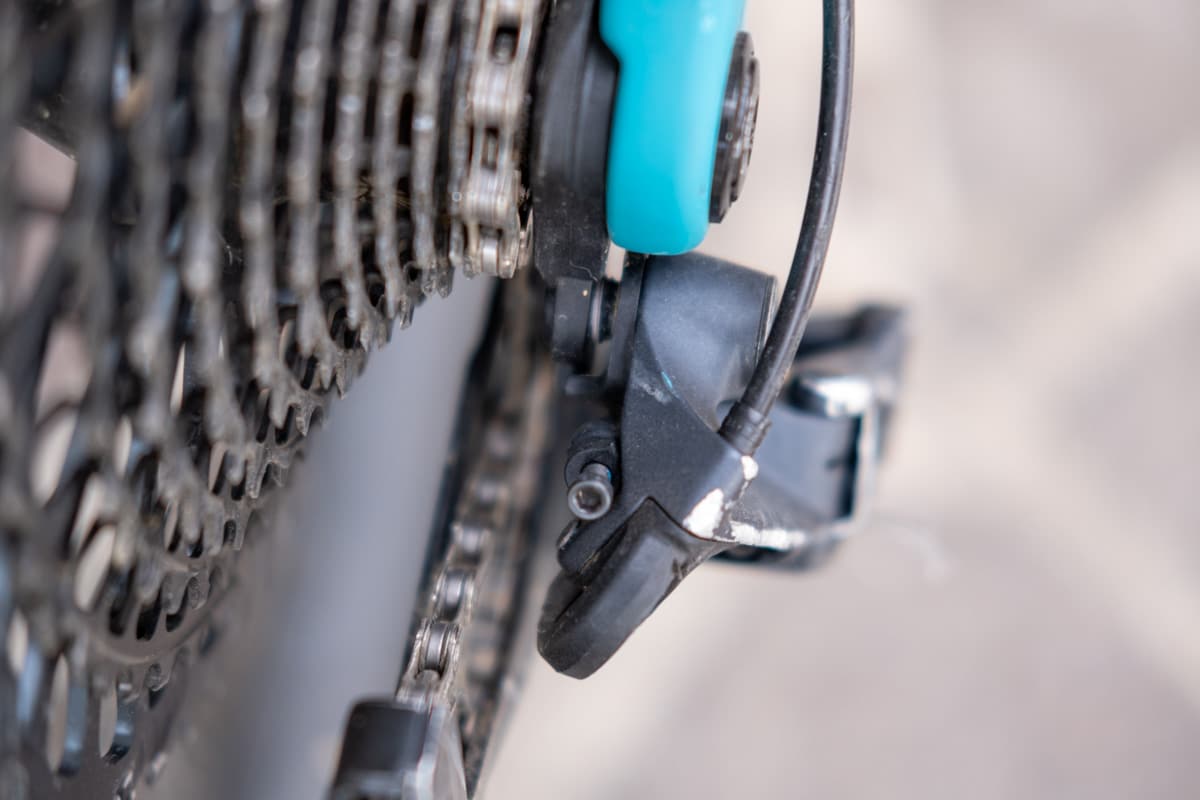
The rear wheel is controlled in a similar way to the front wheel. First we start again with the strength. of the entire rear wheel, the thru axle or quick release, the air pressure, the brakes, the brake disks, the hub, the spokes and the rear derailleur, as well as the cassette. The function of the gears can only be checked while riding and definitely goes beyond a bike check if you go into detail. Loose rear derailleurs are often a reason for poor shifting performance, so this should always be checked.
If you have not yet checked the rear brake at the same time as the front brake, you should do so now. Apply the rear brake, push the wheel backwards and the rear wheel should lock and not slip or the front wheel should rise. The wear of the casing and the brake pads must also be checked.
By imagining that you are checking your bike with the help of the imaginary M, it is easier to check all the important components of the bike. If you start at random, there is a risk of forgetting essential parts of the bike. The 3F principle also ensures that strength, function and F(V) wear are checked. You just have to get into the habit of checking your bike before you set off to make sure you’re safe on the road.

